Hands-On Projects: Building Your Own Ukulele from Scratch
The Joy of Creating Your Own Ukulele
Creating your own musical instrument is a rewarding experience that connects you deeply with the music you produce. Not only does it offer a personal touch to your performance, but it also enhances your understanding of the instrument's mechanics and acoustics. In this guide, we'll take you through a step-by-step process to build a basic ukulele from scratch. Whether you're a music enthusiast or a DIY hobbyist, this project promises to be both fun and educational.
Gathering Essential Tools and Materials
Before we dive into the construction process, it's crucial to gather all necessary tools and materials. While some items can be sourced from around your house, others may require a trip to the hardware store.
- Wood: You'll need high-quality wood such as mahogany or koa for the body, neck, and fretboard. These woods not only offer durability but also contribute significantly to the sound quality.
- Saw: A small hand saw or jigsaw for cutting the wood to size.
- Sanding paper: Various grits (from coarse to fine) to smooth out your cuts and prepare the wood surface.
- Wood glue: For assembling the various parts of the ukulele.
- Clamps: To hold pieces together while the glue dries.
- Drill: A drill with small bits for creating holes for tuning pegs and strings.
- Tuning pegs and strings: You can purchase these online or at a local music store.
Now that you have all your tools and materials ready, let's proceed to building your ukulele.
Step-by-Step Guide to Crafting Your Ukulele
1. Designing the Ukulele Body
The first step in crafting your ukulele is designing its body. This is where the sound will resonate, so precision is key.
- Draw a Template: Use a pencil and paper to outline the shape of your ukulele. The standard ukulele body is approximately 8 inches wide and 10 inches long, but feel free to adjust according to your preference.
- Cut the Wood: Trace your template onto the wood and carefully cut it out with your saw. Remember, you'll need two identical pieces for the front and back.
2. Constructing the Neck
The neck of the ukulele is where you'll place your fingers to change the pitch of the notes.
- Shape the Neck: Use your saw to cut a strip of wood, approximately 1 inch wide and 12 inches long. The headstock (where tuning pegs will go) should be slightly wider.
- Smooth the Edges: Sand down any rough edges for a comfortable playing experience.
3. Assembling the Parts
This stage involves putting together all the components you've crafted so far.
- Join the Body: Use wood glue to attach the front and back of the body with side strips that you cut to form a hollow chamber. Clamp them together and let dry overnight.
- Attach the Neck: Once the body is dry, secure the neck to it using wood glue and additional screws if necessary for stability.
4. Adding Frets and Strings
The frets will guide where you place your fingers on the neck, and strings are essential for producing sound.
- Add Frets: Use a ruler and pencil to mark where each fret will go on the neck. Cut small strips of wire to serve as frets and hammer them gently into place.
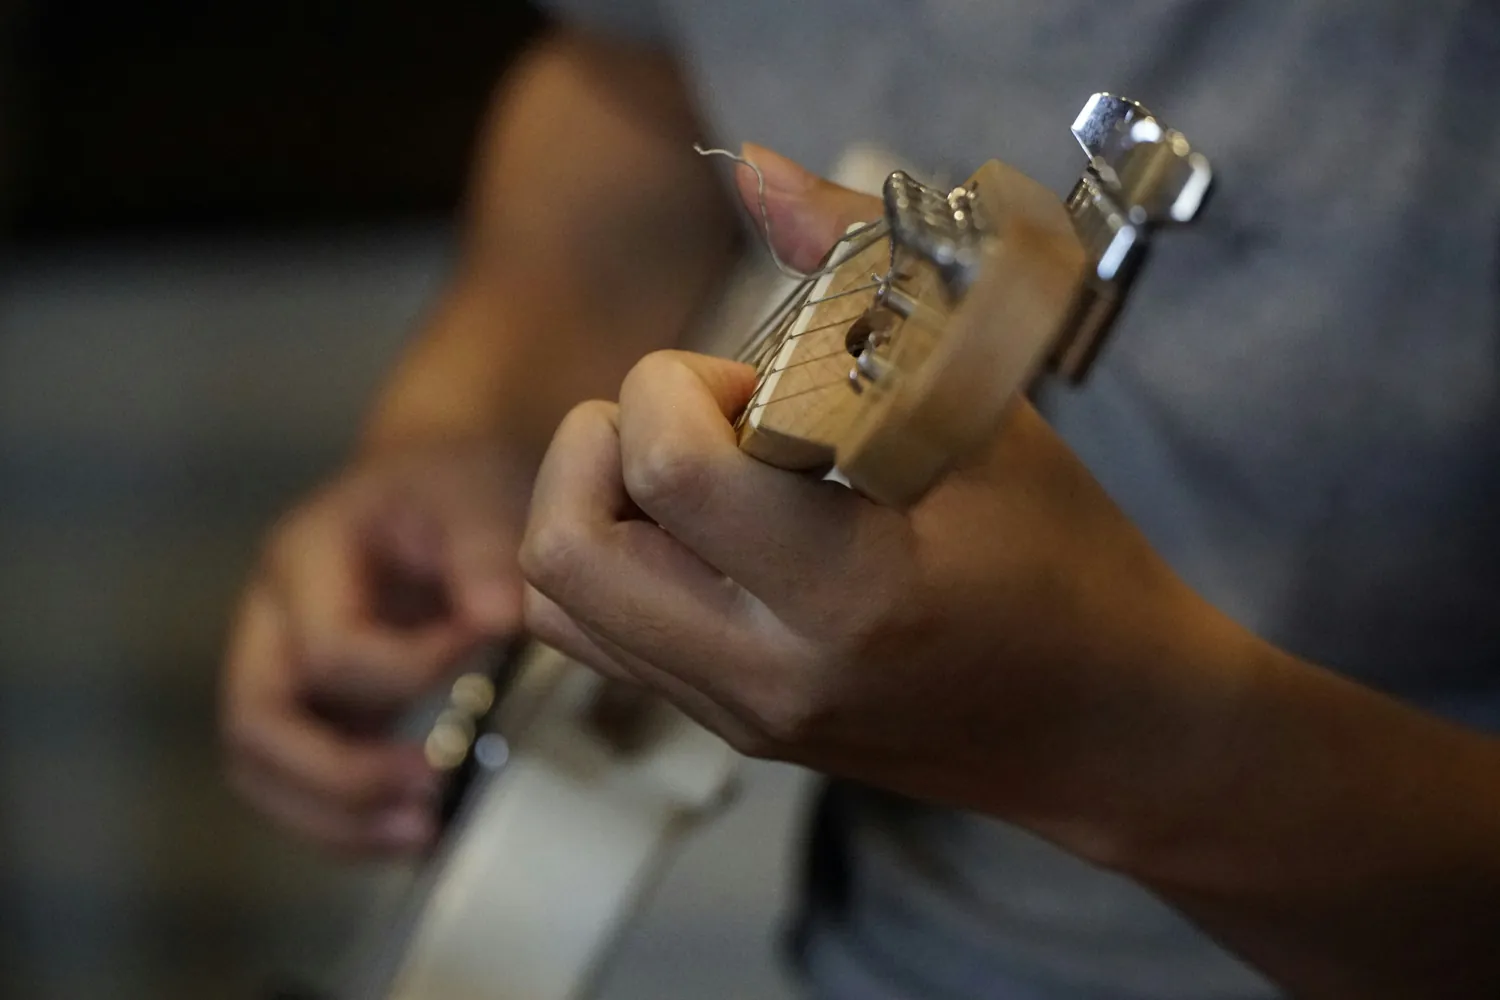
- Install Tuning Pegs: Drill holes in the headstock for tuning pegs and secure them in place. Thread each string through these pegs, down over the nut (a small strip guiding string height), along the fretboard, and finally onto the bridge glued to the body.
Tuning and Testing Your Ukulele
After assembly, tuning is essential before you start playing.
- Use a digital tuner or a tuning app to adjust each string to G-C-E-A tuning, which is standard for ukuleles.
- If certain strings buzz or sound muted, check for fret alignment issues or ensure all strings are correctly threaded through their respective holes.
Alternative Projects Using Household Items
If building an entire ukulele feels daunting, consider crafting simpler percussion instruments using everyday items. Here’s a quick project example:
Create a Simple Drum from a Tin Can
- Select a Can: Choose an empty coffee can or similar container.
- Create a Membrane: Cut a piece of durable plastic (like from an old balloon) slightly larger than the can's opening.
- Secure It: Stretch the plastic over the open end of the can tightly and secure it with rubber bands or strong tape.
This project results in a simple yet effective drum perfect for adding rhythm to any musical session. By experimenting with different can sizes or materials for membranes, you can create varied sounds!
Caring for Your Homemade Instruments
Your handmade instruments deserve careful maintenance to ensure longevity and optimal performance.
- Avoid exposure to extreme temperatures or humidity as this could warp wood components or affect sound quality.
- Tune regularly to maintain string tension and prevent overstretching or damage.
Your crafted instruments are not just objects; they're extensions of your creativity and love for music. Enjoy playing them as much as you enjoyed making them!